
Installing the Nokia D211 software
Note: Do not insert the radio card into your computer until the installation
program instructs you to do so.
1 Exit all Windows programs. Insert the CD-ROM into the CD-ROM drive of
your computer.
If the CD-ROM is not launched automatically, go to your CD-ROM drive (e.g.
drive D) and double-click on
Start.exe.
2 Select the language for the CD-ROM and installation program and read
through and accept the Nokia license agreement. If you do not accept the
license agreement, you cannot use the CD-ROM.
3 The main screen of the CD-ROM opens. Click Install to start the installation.
4 The Welcome page of the installation wizard opens. Click Next to continue.
5 Read through and accept the Nokia license agreement. If you do not accept the
license agreement, you cannot use the software and the installation procedure
stops. Click
I Accept to accept the license agreement.
6 Select the destination folder for the software. The default folder is C:\Program
Files\Nokia\Nokia D211. If you want to install the software in another drive or
folder, click
Browse. When you have selected the correct destination folder,
click
Next.
Note: You cannot install the Nokia D211 software on a network drive.
7 Select the type of installation you want. The Administrator option is for system
administrators only. Custom allows you to choose the individual software
components to be installed, and is recommended for advanced users. Typical
installs the most common software components. This option is recommended
for most users. When you have selected the desired type of installation,
click
Next.
8 Check the installation settings. To accept them, click Next. To change the
settings, click
Back, make the changes, and then click Next. The installation
program starts copying the files.
9 When the installation program prompts you to insert the radio card, insert it
into the PC card slot of your computer as shown in Figure 4. Note that the radio
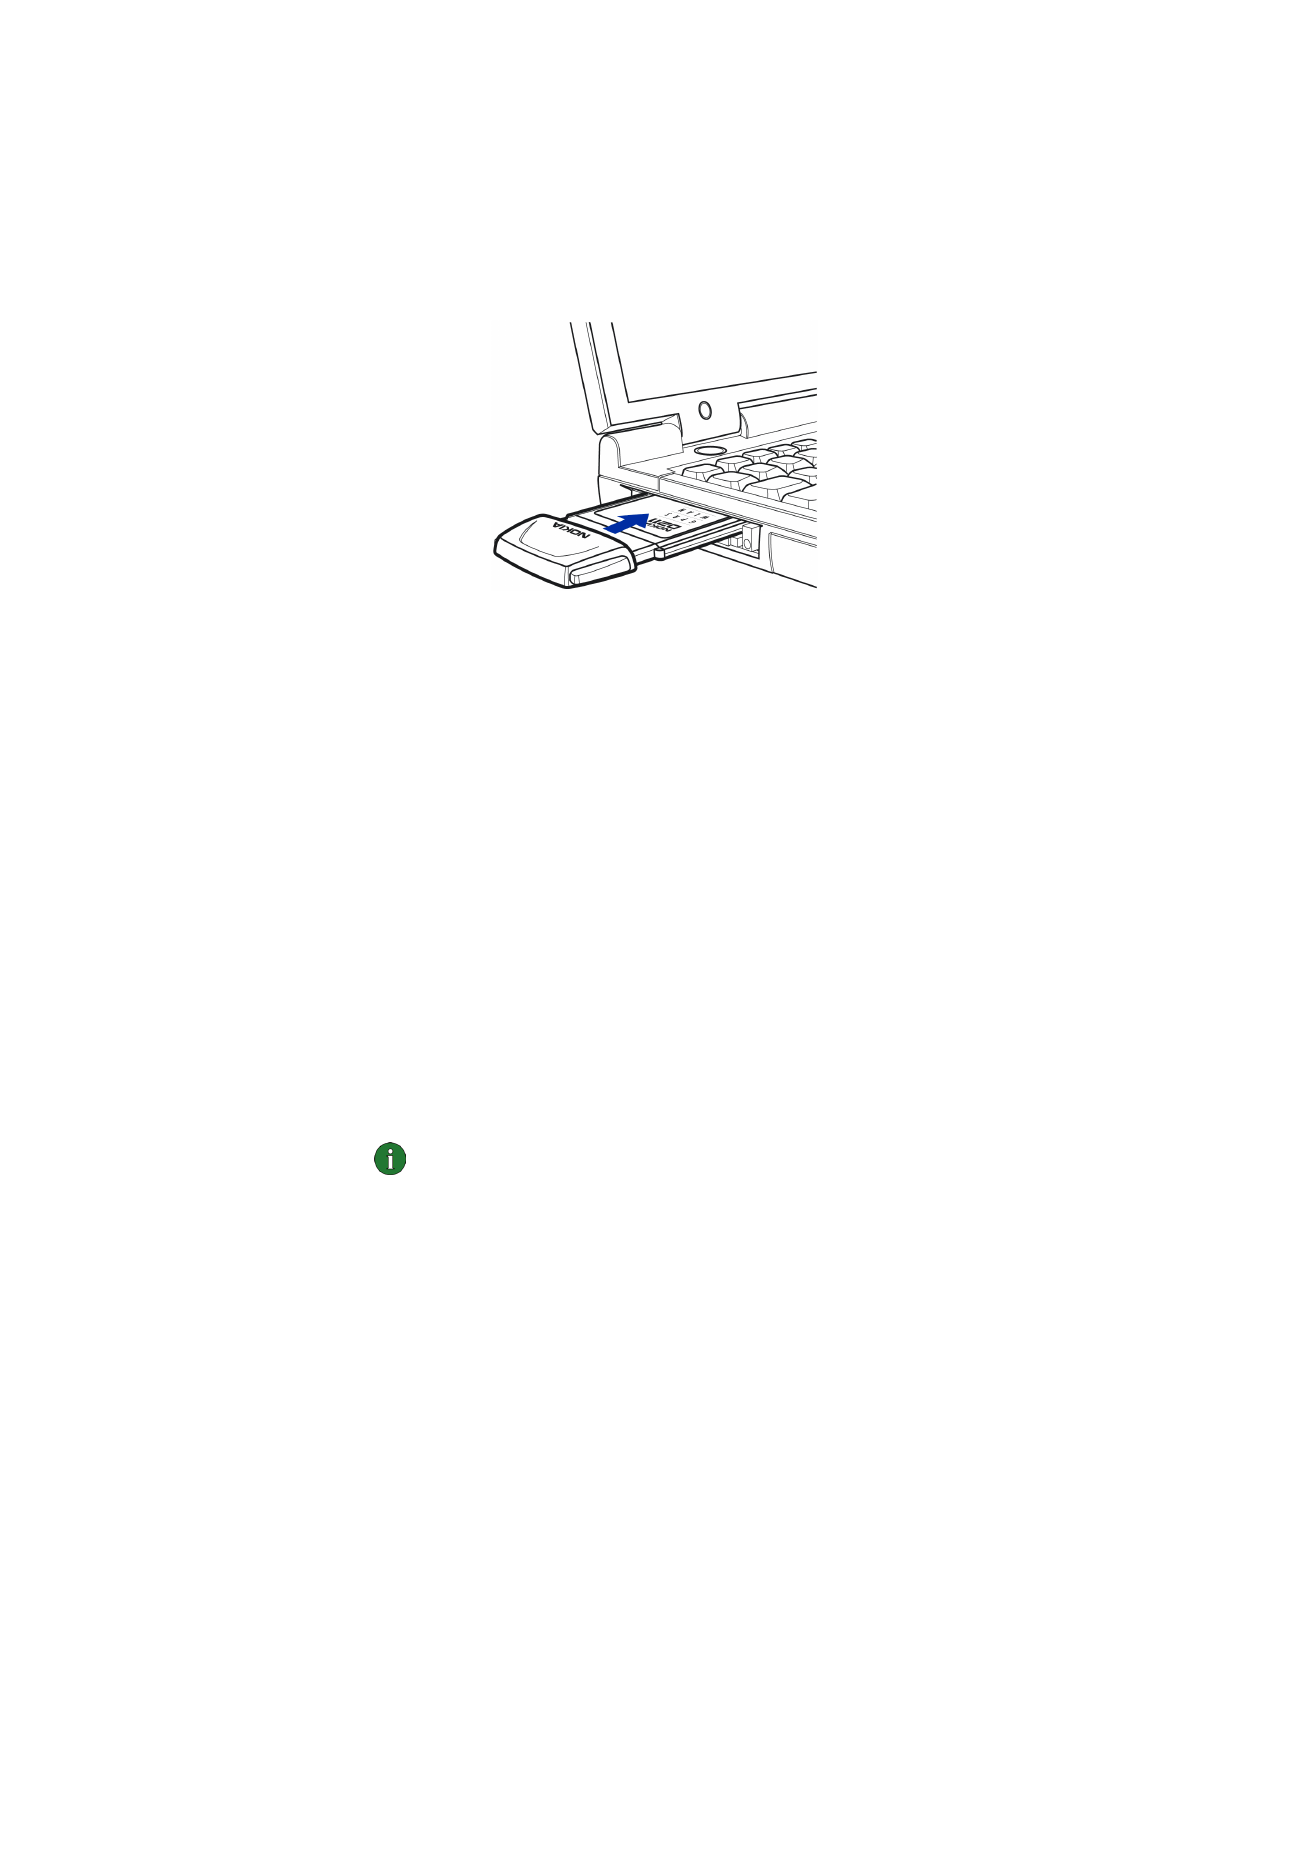
Installation
16
© Nokia Corporation 2004. All rights reserved.
card is not inserted all the way into the PC card slot and there is a gap between
the protruding extension box and the computer. Do not use excess force when
inserting the card.
In the Windows 2000 operating system you are informed that no digital
signature was found. Click
Yes in each dialog box to continue with the
installation.
In Windows XP, the operating system opens Found New Hardware wizards. For
each of these wizards, first select the option
Install the software
automatically, and then select Continue Anyway to continue with the
installation.
10 The Completion page informs you when the installation is completed. Remove
the CD-ROM from the CD-ROM drive and click
Finish. You may need to restart
your computer.
11 A dialog box asks if you want to create a network profile now. Remember that
you can create and edit your own network profiles at any time. If you do
not want to create a profile, click
No and the installation procedure is
completed. If you want to create a profile, click
Yes and the Welcome window
of the profile wizard opens. See
“Creating new profiles” on page 26 for more
information.
Note: If you want other applications to be able to use the smart card reader
of the Nokia D211, you need to install separately a PC/SC (Personal Computer
Smart Card) compliant smart card driver on your computer. Install the smart
card driver only if you want to use other applications or special types of
smart cards with the smart card reader of the Nokia D211. To install the
driver, select Custom as the installation type (see step 7 above) and select the
PC/SC smart card driver component. In the Windows 98 and Me operating
systems you must have the Microsoft Smart Card Base Components 1.0 or
later installed.
Figure 4 - Inserting the radio card

Installation
17
© Nokia Corporation 2004. All rights reserved.